

A VPN kill switch is a critical safety feature that prevents your device from leaking your real IP or sensitive data if the VPN connection unexpectedly drops. In this guide, you will learn why a kill switch matters, how to test it on Android and iOS, and what to do if it’s not working properly. We’ll also cover additional leak checks to ensure your VPN is fully protecting you.
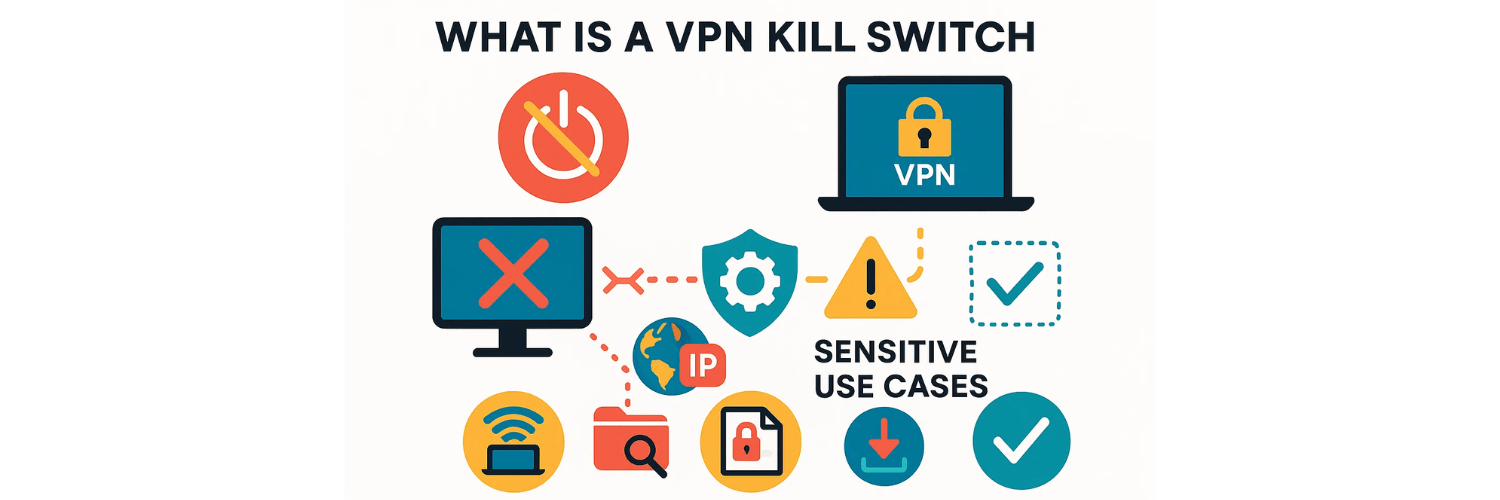
What Is a VPN Kill Switch — And Why Is It Important?
A kill switch is a mechanism built into many VPN apps that automatically blocks network traffic when the VPN connection fails or disconnects. Without it, your device could revert to using your regular internet connection, exposing your real IP address, DNS queries, and any in-progress data.
In sensitive use cases—such as when you’re using public Wi-Fi, working with confidential data, or torrenting—this feature is essential. But having a kill switch enabled doesn’t guarantee protection: you need to test it under real-world conditions.
How to Test a Kill Switch on Android
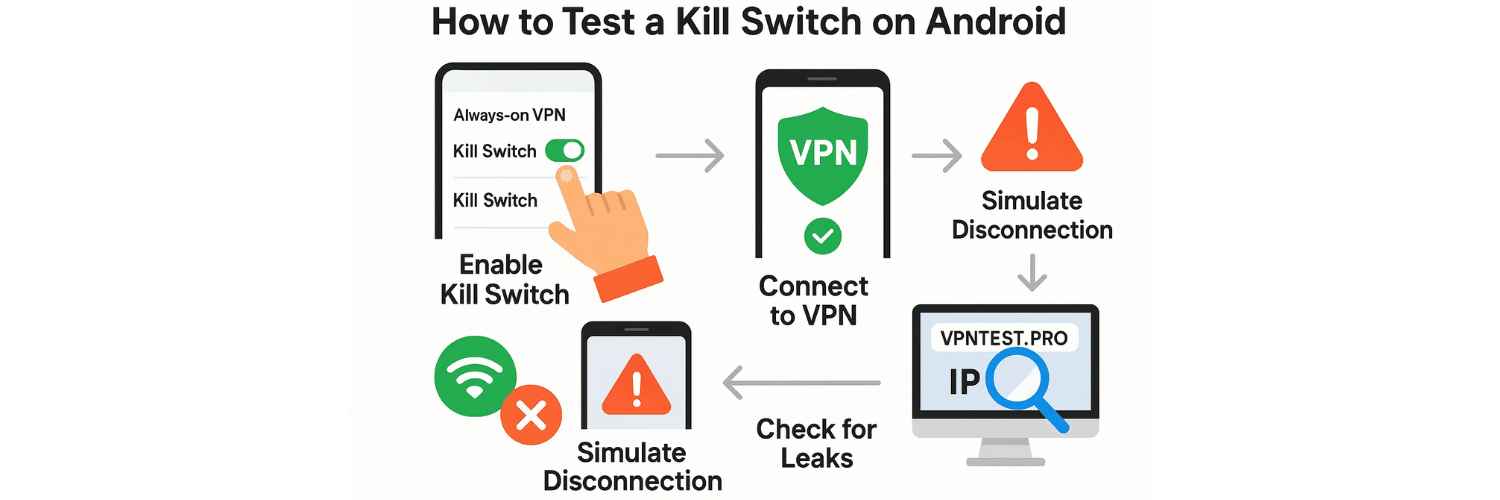
Here’s a step-by-step procedure to test whether the kill switch feature works correctly on an Android device:
Step 1: Enable Kill Switch in the VPN App
Open your VPN client on Android.
Navigate to Settings → Security / Connection → Enable Kill Switch (or “Block Internet Without VPN” / “Always-on VPN”).
Optionally, enable Always-on VPN so the VPN stays connected at all times.
Step 2: Connect to a VPN Server
Connect to a stable VPN server.
Confirm the connection is live (check the VPN icon or status in the app).
Step 3: Simulate a Disconnection
To test if the kill switch works:
Turn off Wi-Fi or mobile data temporarily → observe whether all internet traffic stops immediately.
Alternatively: force-stop the VPN app or kill its process (via Android settings → Apps → VPN → Force Stop).
Step 4: Check for Leaks
Once you've triggered a disconnect, go to a leak testing site (for example:
👉 VPNTest.Pro/test
) to see if your real IP, DNS, or WebRTC information leaks. If your kill switch works correctly, the tool should show no leak (or at least no return to your unprotected IP).
Step 5: Reconnect and Verify
Re-enable network connectivity or open the VPN app again.
Confirm the VPN reconnects (if you enabled auto-reconnect) and run the leak test again.
Make sure your IP and DNS are back to the VPN-assigned values.
How to Test a Kill Switch on iOS (iPhone / iPad)
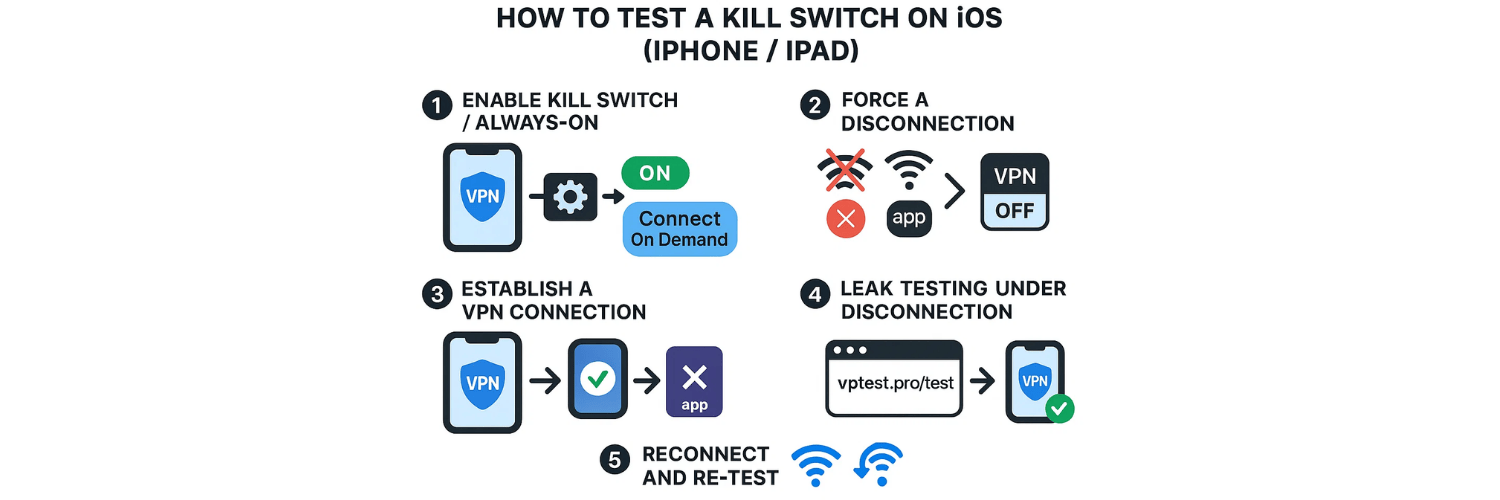
Testing a kill switch on iOS follows a slightly different workflow but the same fundamental concept: ensure no traffic flows when your VPN disconnects.
Step 1: Enable Kill Switch / Always‑On
Open your VPN app → Go to Settings → Security → Enable Kill Switch, Always-On, or Disconnect Protection.
Some apps use the “Connect On Demand” mode in their iOS VPN configuration.
Step 2: Establish a VPN Connection
Connect to a VPN server via the app.
Verify the connection is active (VPN icon in the status bar, or “Connected” status in the app).
Step 3: Force a Disconnection
Turn off Wi-Fi and mobile data.
Or go to iOS Settings → General → VPN & Device Management → VPN, and toggle the connection off.
Another way: temporarily disable or uninstall the VPN app (if allowed).
Step 4: Leak Testing Under Disconnection
While disconnected, open Safari or another browser (or a leak test page in another app) and load the leak test tool:
👉 VPNTest.Pro/testIf the kill switch is working, the test should not reveal your real IP, and DNS leaks should be prevented.
Step 5: Reconnect and Re-Test
Turn your network back on, or re-open the VPN app to reconnect.
Run the leak test again to ensure that once reconnected, your IP and DNS are correctly routed through the VPN.
Why Leak Testing Beyond Kill Switch Is Essential
A kill switch protects you from unencrypted traffic during disconnects, but it doesn't guarantee that your encryption or DNS routing is always secure. To fully validate your VPN’s effectiveness, you should run a comprehensive leak test that checks for:
IP leaks
DNS leaks
WebRTC leaks
IPv6 leaks
For a full tutorial on detecting all types of leaks (not just kill-switch-related), check out:
👉 Full VPN Leak Test Tutorial: How to Detect IP, DNS, WebRTC & IPv6 Leaks Automatically.
Also, if your DNS is leaking, you may want to follow guidance on fixing DNS leaks:
👉DNS Leak Fix for Chrome & Firefox
Common Issues and Troubleshooting When Kill Switch Fails
If your kill switch doesn’t appear to work, here are some common culprits and how to address them:
Auto-reconnect is disabled: Without reconnect logic, kill-switch-only protection is weak.
Incorrect VPN protocol: Some protocols may drop connections more frequently, bypassing kill-switch protection.
Poor network stability: Flaky Wi-Fi or mobile connections may trigger frequent disconnects—test your kill switch under stable and unstable network scenarios.
App restrictions: On managed devices (e.g., work or school), OS policies might override VPN settings.
Outdated VPN client: Make sure your VPN app is updated — newer versions often improve kill-switch reliability.
Best Practices to Enhance Protection
Always enable the kill switch + auto-connect or always-on mode where available.
Test in different network conditions: Wi-Fi, mobile, public hotspots.
Combine with full leak test to validate DNS, WebRTC, and IPv6 protections.
Use a reliable VPN provider with proven kill-switch functionality.
Schedule regular tests, especially after VPN, OS, or network changes.
Final Thoughts
Testing your VPN kill switch is not optional—it’s a core part of ensuring your privacy stays safe even when your connection falters. By simulating disconnections and using online testing tools like
👉 VPNTest.Pro/test, you can confidently verify that your VPN will not leak your real IP, DNS, or WebRTC data when it’s needed most.
Additionally, combining kill switch tests with full leak testing (as described in our
👉 Full VPN Leak Test Tutorial) and DNS leak fixes (see
👉 DNS Leak Fix for Chrome & Firefox) provides a multi-layered privacy validation.
With the right setup and regular testing, your VPN becomes a robust shield that protects you even when things go wrong.
FAQs
What is a VPN kill switch?
A VPN kill switch is a feature that blocks all internet traffic if your VPN connection drops, preventing your real IP and data from being exposed.Do all VPNs have a kill switch on Android and iOS?
No, not all VPN apps offer a kill switch, and the implementation may differ between Android and iOS devices.How do I enable a kill switch on my VPN app?
Open your VPN app → Settings → Security → Enable “Kill Switch” or “Always-On VPN” mode.How can I test if the kill switch is working?
You can simulate a disconnect by turning off Wi-Fi/mobile data or force-stopping the VPN app, then check for leaks using VPNTest.Pro/test.Will a kill switch prevent DNS and WebRTC leaks?
Yes, a properly functioning kill switch should prevent all internet traffic from leaking, including DNS and WebRTC data, until the VPN reconnects.What if my kill switch doesn’t work on Android/iOS?
Check that auto-reconnect is enabled, your VPN app is updated, and your network is stable. Some apps may require additional permissions or settings adjustments.Does using a kill switch slow down my device?
No, it only blocks internet traffic when the VPN disconnects; during normal operation, it does not affect speed.Can I test kill switch on public Wi-Fi safely?
Yes, testing on public Wi-Fi is actually recommended, as it ensures the kill switch will protect your real IP in high-risk networks.Is Always-On VPN the same as a kill switch?
Not exactly. Always-On VPN keeps the connection active at all times, while a kill switch blocks traffic only when the connection drops.How often should I test my VPN kill switch?
Regularly, especially after app updates, network changes, or switching VPN servers. Periodic testing ensures your VPN protection remains effective.
Tags

About VPNTest
Content Specialist with expertise in cybersecurity and online privacy. Sarah has been testing and reviewing VPN services for over 5 years and regularly contributes to leading tech publications.
View all articles by VPNTest →




Never Miss an Article
Subscribe to our newsletter to receive the latest VPN guides, security tips, and industry news directly in your inbox.