

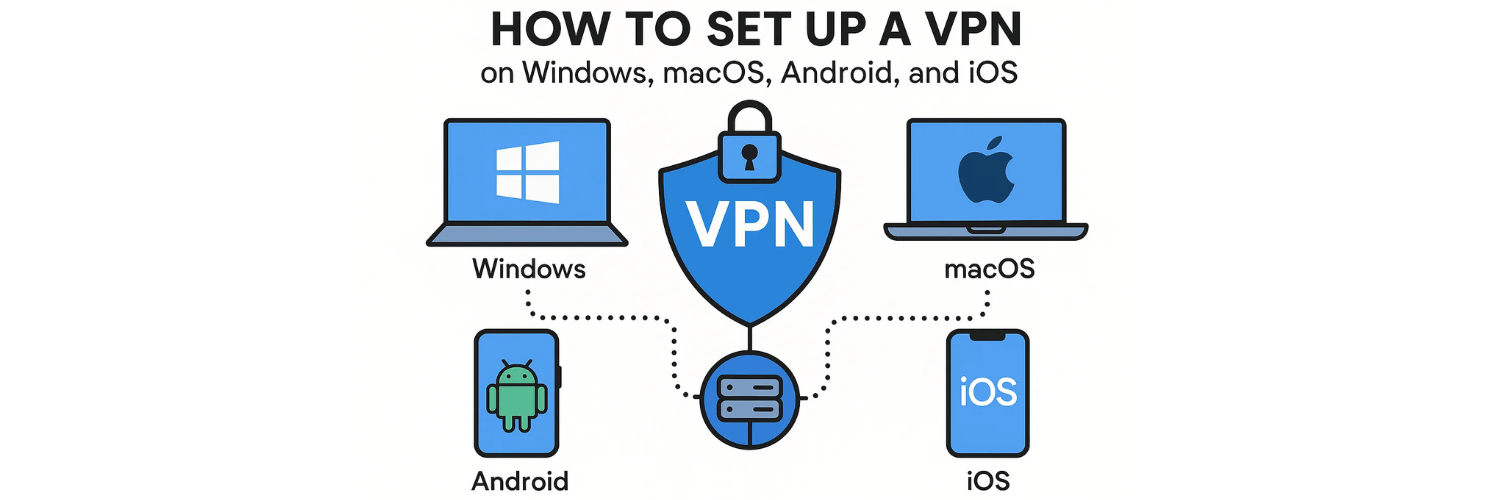
Setting up a VPN across different operating systems may seem complex, but the process is quite straightforward once you understand the basics. A Virtual Private Network (VPN) establishes an encrypted connection between your device and a remote server, masking your IP address and securing your data from potential interception. Whether you’re running Windows, macOS, Android, or iOS, configuring a VPN ensures your online activities remain private and protected — especially when using unsecured networks. In this guide, we’ll cover the technical steps and key settings required to set up a VPN on each platform, so you can maintain consistent security and privacy across all your devices.
What Is a VPN and Why Should You Use One?
A VPN, or Virtual Private Network, is a secure tunnel that encrypts your internet connection and hides your real IP address. Instead of connecting directly to websites or apps, your traffic first goes through the VPN server, which masks your location and keeps your online activity private. This means your ISP, hackers, or even the sites you visit can’t easily track what you’re doing. Whether you’re using public Wi-Fi, accessing content restricted in your region, or just protecting your personal data, a VPN helps keep your browsing safer and more private — giving you more control over your digital life.
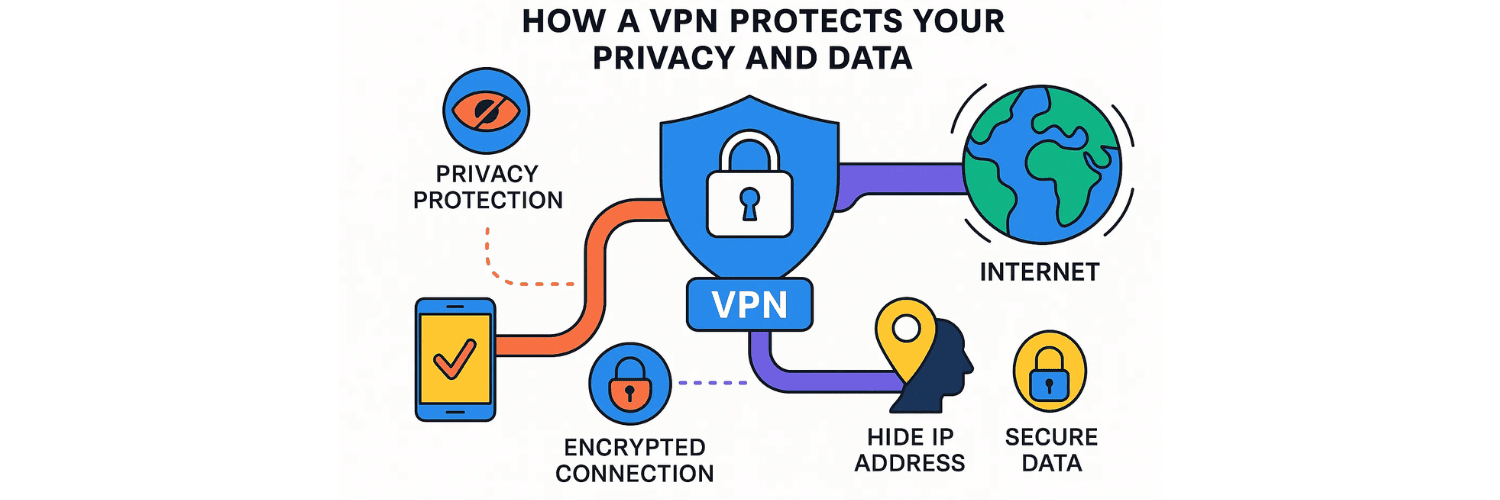
How Does a VPN Protect Your Privacy and Data?
A VPN, or Virtual Private Network, protects your privacy and data by creating a secure, encrypted connection between your device and the internet. When you connect to a VPN server, all the information you send or receive travels through an encrypted tunnel that prevents anyone — including hackers, internet service providers (ISPs), or government agencies — from viewing your online activity. This encryption ensures that sensitive data like passwords, banking details, and personal messages remain hidden from prying eyes.
Beyond encryption, a VPN also masks your real IP address by routing your connection through its own servers. This makes it appear as though you’re browsing from a different location, effectively concealing your true identity and physical location. As a result, websites, advertisers, and online trackers can’t easily build a profile based on your browsing habits or location data. This layer of anonymity is especially valuable when you’re using public Wi-Fi, which is often unsecured and a prime target for cyberattacks.
Another way a VPN safeguards your privacy is by preventing DNS and WebRTC leaks. Without a VPN, your DNS requests — which translate website names into IP addresses — can be exposed to your ISP, revealing which websites you visit. A well-configured VPN reroutes these requests through its own secure DNS servers, closing that privacy gap. Similarly, it can block WebRTC leaks in browsers that might otherwise reveal your real IP address even while you’re connected to a VPN.
In essence, a VPN works as both a shield and a disguise: it shields your data from interception and disguises your online identity. While it’s not a complete replacement for good digital hygiene — such as using strong passwords or enabling two-factor authentication — a VPN adds a crucial layer of protection in today’s surveillance-driven internet. By encrypting your traffic and hiding your identity, it helps you take back control of your privacy and browse with greater peace of mind.
🔹 How Can You Install a VPN App on Windows?
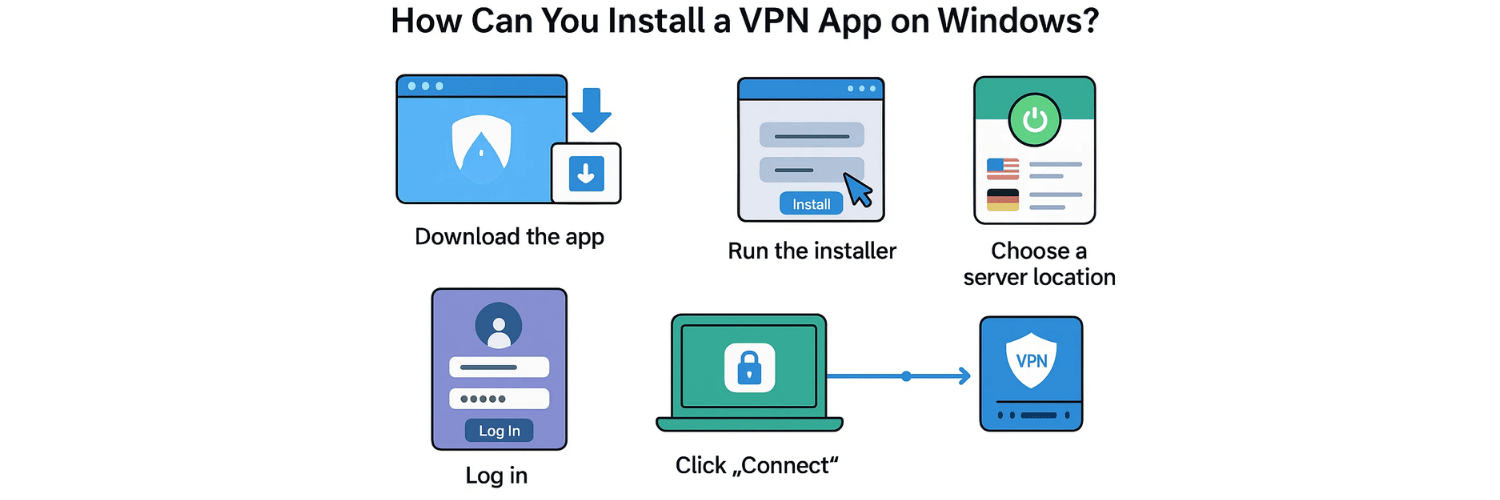
The easiest and most reliable way to use a VPN on Windows is to install the provider’s official application. Most reputable VPN services — like NordVPN, ExpressVPN, ProtonVPN, or Surfshark — offer dedicated Windows clients that automate the entire setup process.
Download the app from the official VPN website or the Microsoft Store.
Run the installer and follow the on-screen instructions to complete installation.
Log in using your VPN account credentials.
Choose a server location from the list provided — for example, the U.S. or Germany.
Click “Connect.” Within seconds, your traffic will be encrypted and routed through the VPN server.
Most apps also include additional features such as a Kill Switch (which blocks internet traffic if the VPN disconnects), Split Tunneling (to choose which apps use the VPN), and Auto-Connect on Startup. These tools make managing your privacy easier and more secure without needing manual configuration.
🔹 What If You Want to Set Up a VPN Manually?
If you prefer not to install extra software, Windows has built-in VPN support that allows you to configure a connection manually. This is especially useful for workplaces, schools, or users who have specific VPN credentials from an IT department.
Here’s how to do it:
Open Settings → Network & Internet → VPN.
Click “Add a VPN connection.”
In the form that appears, choose Windows (built-in) as the VPN provider.
Enter the connection name, server address, and select the VPN type (usually L2TP/IPsec, IKEv2, or PPTP depending on your provider).
Enter your username and password, then click Save.
Once saved, you can find the new VPN in your list of available connections — just click Connect to activate it.
Manual setup gives you more control and can reduce resource usage, but it also means you’ll need to handle server changes and security settings yourself. Most users still prefer using the VPN’s app for convenience and automatic updates.
🔹 How Do You Know If Your VPN Is Working Properly on Windows?
After setting up your VPN, it’s important to confirm that it’s actually protecting your connection. A few simple tests can help you verify that everything is working correctly:
Check your IP address: Visit a site like whatismyipaddress.com. If the IP shown belongs to your VPN’s server location (not your real one), it’s working.
Run a DNS leak test: Go to dnsleaktest.com and start a test. If your VPN is configured properly, only your VPN provider’s DNS servers should appear.
Test for WebRTC leaks: You can check this at browserleaks.com/webrtc. If your real IP is hidden, your VPN is protecting you.
Disconnect the VPN temporarily and repeat the tests to compare results — the difference confirms your VPN’s effectiveness.
If you notice your real IP or DNS servers are visible, try reconnecting to a different VPN server, enabling the Kill Switch, or reinstalling the app. These steps usually fix most issues.
🍎 Setting Up a VPN on macOS
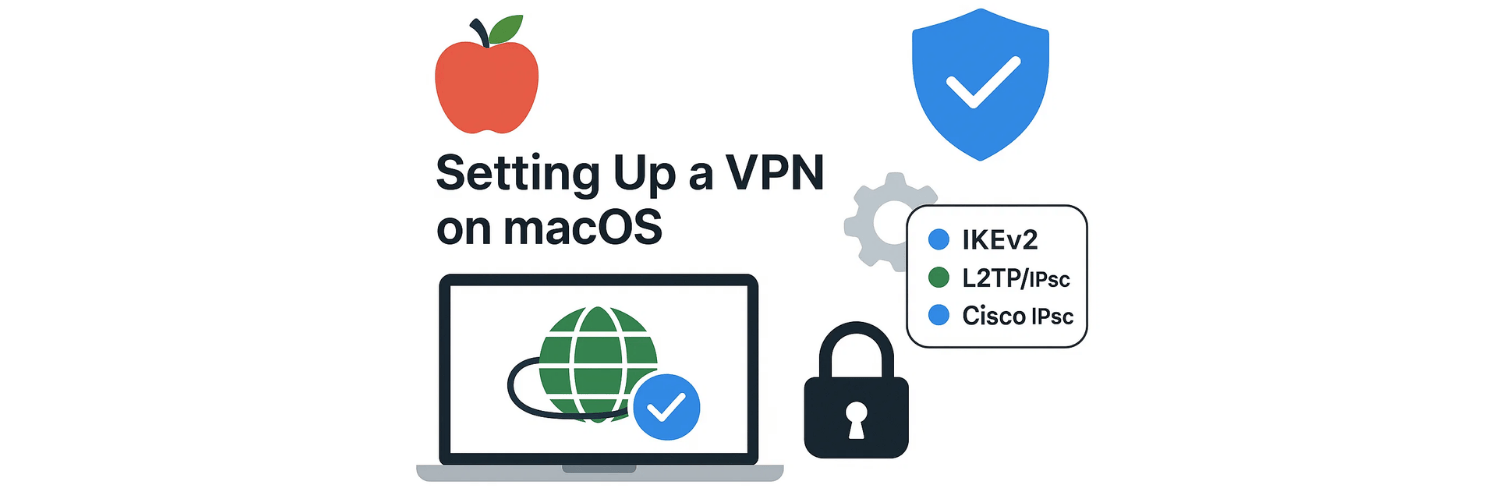
Using a VPN on macOS is a reliable way to enhance your online privacy and protect sensitive data while browsing, streaming, or working remotely. macOS offers native support for most modern VPN protocols — such as IKEv2, L2TP/IPsec, and Cisco IPSec — allowing users to configure VPN connections directly in system settings. Whether you prefer a third-party VPN app or want to set up a manual connection, macOS provides flexible options to keep your data encrypted and secure.
🔹 Where Can You Find VPN Settings on a Mac?
Apple integrates VPN management directly into macOS, so you don’t need additional software to access or modify basic VPN settings. You can find everything under:
System Settings → Network → VPN
From this section, you can:
Add new VPN configurations manually
Connect or disconnect an existing VPN
Check the current connection status
Modify advanced options such as authentication methods or routing
If you’re using macOS Ventura or newer, Apple has reorganized the interface slightly — VPN configurations now appear in the Network sidebar with a clean toggle-style control. Older versions of macOS (like Catalina or Big Sur) use System Preferences → Network, where each VPN connection appears as a new interface in the list on the left panel.
This centralized design makes it easy to manage multiple VPN profiles or switch between corporate and personal VPNs without third-party tools.
🔹 How Do You Add a VPN Connection Manually in macOS?
If you don’t want to install your VPN provider’s app or you’re using a custom enterprise setup, you can configure a VPN manually. macOS supports several protocols natively, with IKEv2 being the most secure and recommended option.
Here’s a step-by-step guide:
Open System Settings → Network → VPN.
Click Add VPN Configuration (or the “+” button in older macOS versions).
Choose the VPN type from the dropdown menu (e.g., IKEv2, L2TP over IPSec, or Cisco IPSec).
Enter a Service Name (for example, “Work VPN” or “ProtonVPN”).
Fill in the required fields:
Server Address – provided by your VPN service or network administrator.
Remote ID / Local ID – used for authentication (depends on your provider).
Authentication Settings – choose between username/password or certificate-based authentication.
Click Apply to save the configuration.
Once the VPN appears in the Network list, click Connect to establish a secure tunnel.
If you’re using certificate-based authentication, ensure the certificate is installed in Keychain Access under the System keychain and marked as trusted for IPsec or IKEv2. This allows macOS to verify the VPN server automatically during connection.
Manual setup offers full transparency and control over the connection parameters, which is especially important for advanced users or organizations enforcing strict security policies.
🔹 What Common Issues Might You Face on macOS — and How Do You Fix Them?
Even with a well-configured VPN, some issues may occasionally occur on macOS. Here are the most common ones — and how to resolve them:
1. VPN Fails to Connect or Drops Frequently
Cause: Incorrect server address, outdated configuration, or conflicting network settings.
Fix: Double-check your VPN credentials, server information, and authentication type. Try switching protocols (from IKEv2 to L2TP/IPsec). If you’re using Wi-Fi, reset your network adapter or restart the Mac.
2. DNS Leaks or Unsecured Traffic
Cause: macOS might still use your ISP’s DNS servers even when the VPN is active.
Fix: Manually configure DNS to a secure provider (e.g., 1.1.1.1 or your VPN’s DNS). You can do this under System Settings → Network → Advanced → DNS. Run a DNS leak test afterward to confirm the issue is resolved.
3. Slow Speeds or High Latency
Cause: Overloaded VPN servers or encryption overhead.
Fix: Connect to a different VPN location closer to you, or switch from L2TP/IPsec (which is slower) to IKEv2. Also ensure background processes aren’t consuming bandwidth.
4. macOS Keychain Authentication Errors
Cause: Corrupted or missing certificates, especially in corporate environments.
Fix: Open Keychain Access and remove old certificates, then reinstall the correct ones provided by your VPN administrator.
5. VPN Works but No Internet Access
Cause: Incorrect routing or DNS settings.
Fix: In the VPN’s advanced options, make sure “Send all traffic over VPN connection” is checked. Then disconnect and reconnect.
By addressing these issues proactively, you can ensure stable, leak-free, and fully encrypted VPN performance on macOS.
📱 Setting Up a VPN on Android
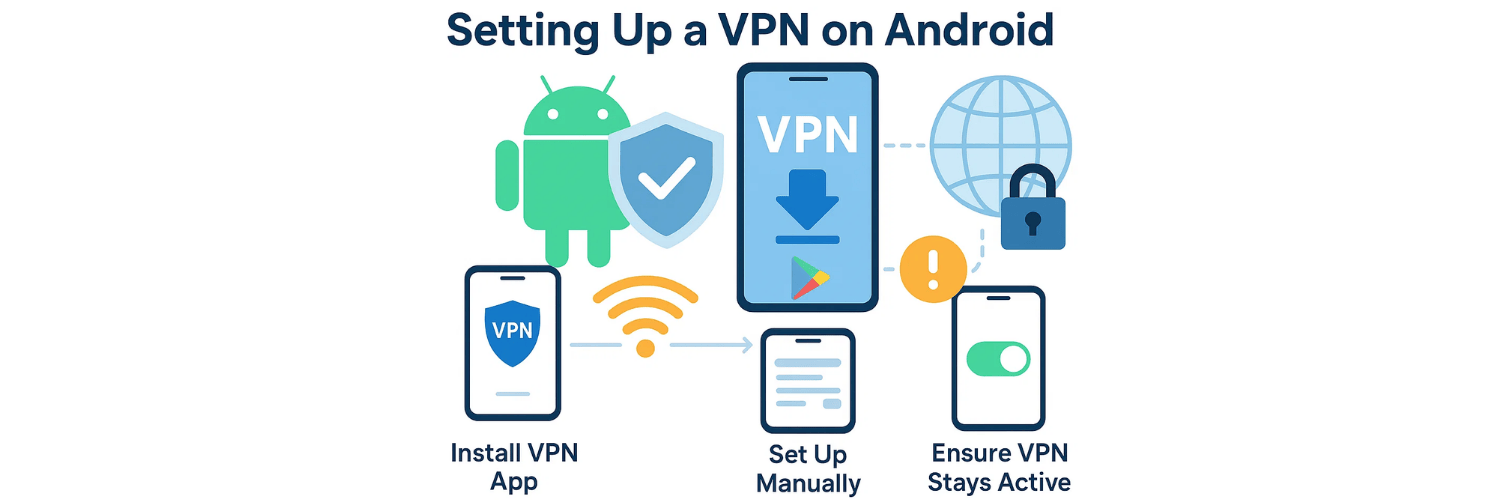
Android offers robust support for Virtual Private Networks (VPNs), giving users multiple ways to secure their internet connection and protect private data. Whether you’re using a commercial VPN app or configuring a manual connection for work, Android’s networking architecture allows you to encrypt your traffic, mask your IP address, and maintain privacy even on untrusted Wi-Fi networks. In this section, we’ll explore how to install a VPN app from Google Play, set up a connection manually, and ensure your VPN stays active at all times.
🔹 How Do You Download and Install a VPN App from Google Play?
The simplest and most efficient way to use a VPN on Android is through a dedicated app. Most major VPN providers — such as NordVPN, ProtonVPN, ExpressVPN, and Surfshark — offer optimized Android clients that automatically configure secure connections using modern protocols like WireGuard, OpenVPN, or IKEv2/IPsec.
Here’s how to install and use a VPN app from Google Play:
Open the Google Play Store on your Android device.
Search for your VPN provider’s official app (be cautious of fake apps — always verify the developer).
Install the app and grant necessary permissions (network access, VPN connection control).
Log in using your account credentials.
Choose a server location from the available list — typically the closest or fastest one.
Tap Connect to establish a secure VPN tunnel.
Once connected, Android’s key icon appears in the status bar, indicating that your VPN is active. Most apps also include features like:
Kill Switch: Blocks internet access if the VPN disconnects unexpectedly.
Split Tunneling: Allows you to choose which apps use the VPN and which connect normally.
Auto-Connect on Unsecured Networks: Automatically activates the VPN when joining open Wi-Fi.
Using a provider’s app is ideal for most users because it ensures the latest security protocols and server updates are automatically applied without manual configuration.
🔹 What Are the Steps to Configure a VPN Manually on Android?
For users who prefer more control — or need to connect to a workplace VPN — Android allows manual VPN configuration through its native settings. This is useful when your VPN provider or IT department supplies specific credentials and server information.
Here’s how to set it up manually:
Open Settings → Network & Internet → VPN.
(On some devices, it’s under Connections → More connection settings → VPN.)Tap “Add VPN” or the “+” icon.
Enter your VPN details:
Name: Any descriptive label (e.g., “Work VPN” or “IKEv2 Server”).
Type: Select the appropriate protocol (PPTP, L2TP/IPsec PSK, IPsec Xauth PSK, or IKEv2/IPsec).
Server address: Provided by your VPN service or network admin.
Username and Password: Your VPN credentials.
Pre-shared key or certificate: Required for IPsec-based protocols.
Tap Save, then select the VPN connection from the list.
Tap Connect and wait until the key icon appears in the status bar.
Manual configuration offers flexibility — especially in corporate environments that require specific routing rules or authentication methods — but it lacks features like automatic reconnection, split tunneling, or advanced kill switches that most VPN apps provide.
Tip: For advanced security, choose the IKEv2/IPsec protocol whenever possible. It provides fast reconnection, strong encryption, and better performance on mobile networks compared to older options like PPTP.
🔹 How Can You Keep Your VPN Always On?
One of Android’s strongest privacy features is the Always-on VPN mode, available from Android 7.0 (Nougat) onward. This option ensures that your device never sends unencrypted traffic — even for a moment — without passing through the VPN.
To enable it:
Go to Settings → Network & Internet → VPN.
Tap the gear icon ⚙️ next to your active VPN profile.
Enable “Always-on VPN.”
(Optional but highly recommended) Turn on “Block connections without VPN.”
This enforces a full network lockdown, ensuring no traffic escapes if the VPN disconnects.
When these options are enabled, Android automatically launches the VPN on startup and prevents any apps from bypassing it. This is especially useful for journalists, remote workers, or anyone handling sensitive data on mobile networks.
Note: If you’re using a third-party VPN app, ensure it supports Android’s Always-on feature. Some apps require additional permissions or background activity access to remain stable.
📲 Setting Up a VPN on iOS (iPhone & iPad)
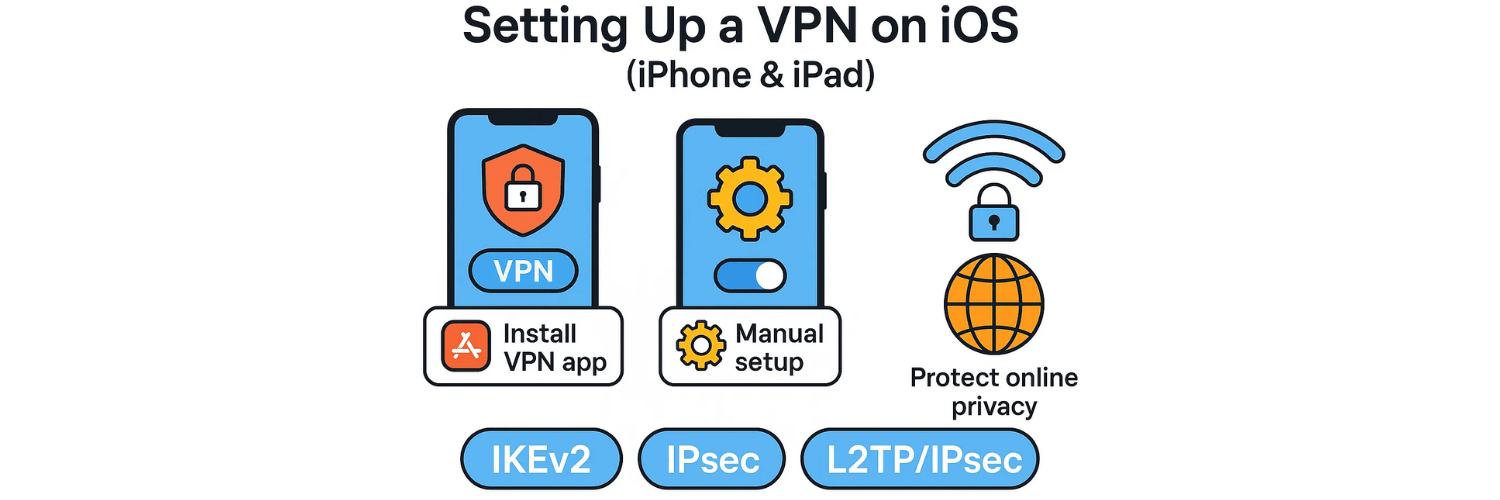
Using a VPN on iOS is one of the most effective ways to protect your online privacy, especially when you connect to public Wi-Fi or access region-restricted content. iPhones and iPads natively support modern VPN protocols — including IKEv2, IPsec, and L2TP/IPsec — allowing both automatic and manual configurations. Whether you install a VPN app from the App Store or set up a profile manually in Settings, Apple’s integrated VPN framework ensures strong encryption and reliable performance.
🔹 How Do You Install a VPN App on iPhone or iPad?
The simplest and most efficient method to use a VPN on iOS is through an official app provided by a trusted VPN service. Most major VPN providers — such as ExpressVPN, ProtonVPN, NordVPN, and Surfshark — offer dedicated iOS applications that handle all the setup for you. These apps use secure protocols like WireGuard, IKEv2, or OpenVPN and are fully compatible with Apple’s security ecosystem.
Here’s how to install and set up a VPN app on iOS:
Open the App Store on your iPhone or iPad.
Search for your VPN provider’s official app (verify the developer’s name to avoid fake apps).
Tap Get to download and install it.
Open the app and sign in using your VPN account credentials.
When prompted, allow the app to “Add VPN Configurations” — this permission lets iOS integrate the VPN at the system level.
Once the configuration is complete, simply tap Connect to activate the VPN tunnel.
You’ll know the VPN is active when a VPN icon (a small rectangle with “VPN”) appears in the status bar near the Wi-Fi or mobile data symbol.
Advanced Features (available in most VPN apps):
Auto-connect: Automatically reconnects when you join unsecured networks.
Split Tunneling (in supported apps): Lets you choose which apps or sites use the VPN.
Kill Switch (Network Lock): Prevents data leaks if the VPN connection drops unexpectedly.
Using a VPN app is highly recommended for most users because it ensures compatibility, automatic protocol updates, and optimized performance across Apple devices.
🔹 How Do You Manually Add a VPN Profile in iOS Settings?
If you need to connect to a corporate VPN or prefer manual setup, iOS allows you to create a VPN profile directly from system settings — no app required. This is especially useful when your organization provides specific connection credentials or certificates.
Follow these steps to configure a VPN manually:
Open Settings → General → VPN & Device Management → VPN.
Tap “Add VPN Configuration…”
In the Type field, choose your preferred protocol:
IKEv2 (recommended for best balance of speed and security)
IPsec (used in many corporate environments)
L2TP/IPsec (older but still supported)
Enter the required details:
Description: A custom name (e.g., “Work VPN” or “ProtonVPN”).
Server: The hostname or IP address of your VPN server.
Remote ID: Provided by your VPN service or network admin.
Local ID (optional): Used for authentication, if required.
User Authentication: Choose Username & Password or Certificate depending on your VPN setup.
Tap Done to save the configuration.
To connect, go back to Settings → VPN, select your profile, and switch Status → Connected.
If you’re using a certificate-based VPN, install the certificate file first (usually sent by your IT department) by opening it on your iPhone and following the on-screen import instructions. Ensure the certificate is trusted under Settings → General → About → Certificate Trust Settings before connecting.
Manual setup gives you full visibility into protocol choice, encryption type, and authentication — useful for advanced users or enterprise networks that don’t rely on third-party apps.
🔹 How Can You Verify That Your VPN Is Connected?
Once your VPN is set up, it’s crucial to confirm that it’s working correctly. iOS shows a “VPN” indicator in the status bar when a connection is active, but that alone doesn’t guarantee full protection. Here are a few methods to verify your VPN’s functionality:
1. Check Your IP Address
Open Safari and visit whatismyipaddress.com or a similar site.
If your VPN is active, the displayed IP address should match your VPN server’s location — not your real one.
2. Test for DNS Leaks
Go to dnsleaktest.com or ipleak.net and run a test.
If only your VPN provider’s DNS servers appear, your connection is secure.
3. Verify WebRTC Protection (for browsers like Safari or Chrome)
Visit browserleaks.com/webrtc.
If your local IP isn’t exposed, your VPN is preventing WebRTC leaks effectively.
4. Reconnect and Test Consistency
Disconnect and reconnect to different servers to ensure that your VPN app updates routing tables correctly and prevents intermittent leaks.
If you find that your VPN isn’t masking your IP or leaking DNS requests, try:
Reinstalling the VPN profile or app.
Switching to another protocol (e.g., IKEv2 instead of L2TP/IPsec).
Enabling the Kill Switch or “Block connections outside VPN” option (available in some apps).
Verifying Your VPN Connection Using vpntest.pro
After setting up your VPN on Windows, macOS, Android, or iOS, it’s essential to verify that the connection is working as intended — and that no IP or DNS data is leaking. One of the most reliable tools for this purpose is vpntest.pro/test, a comprehensive online utility designed to evaluate VPN performance and security. When you open the site while connected to your VPN, it automatically checks your public IP address, DNS requests, and WebRTC configuration to confirm that your real location and identity are hidden. It also analyzes encryption strength, connection speed, and latency across multiple tests. If the site shows only your VPN server’s IP and DNS, your setup is properly secured. However, if it detects your real IP or local DNS servers, you may need to adjust settings, reconnect, or switch to a more secure protocol such as IKEv2 or WireGuard. Running this test after installation ensures your VPN is truly protecting your privacy on every device and operating system.
🏁 Final Thoughts
Setting up a VPN across Windows, macOS, Android, and iOS is easier and more powerful than ever. Whether you use a dedicated app or configure a manual connection, a properly installed VPN encrypts your traffic, hides your IP address, and safeguards your privacy from ISPs, trackers, and cyber threats. Each operating system offers its own strengths: Windows and macOS provide deep configuration options, while Android and iOS integrate VPN support natively for mobile convenience and security.
To ensure maximum protection, always verify your VPN connection after setup using tools like vpntest.pro — checking for IP, DNS, and WebRTC leaks. Also, keep your VPN apps and operating systems updated, enable kill switches when available, and choose reliable providers that support modern, secure protocols like WireGuard, IKEv2/IPsec, or OpenVPN. With these best practices in place, your online identity, browsing history, and personal data will remain private and protected across all your devices.
❓ Top 10 FAQs About Setting Up and Using VPNs
1. What’s the easiest way to set up a VPN on any device?
The simplest method is to install your VPN provider’s official app. It automatically configures secure protocols, handles server selection, and ensures that your connection is properly encrypted — no manual setup required.
2. Which VPN protocol should I choose for the best security and speed?
For most users, IKEv2/IPsec and WireGuard offer the best balance of security, speed, and stability. OpenVPN remains a reliable alternative, while older options like PPTP are now considered outdated and insecure.
3. Is manual VPN configuration more secure than using an app?
Not necessarily. Manual setup provides transparency and control, but official VPN apps usually include automatic updates, advanced encryption settings, and leak protection that manual profiles lack.
4. Can I use one VPN subscription across multiple devices?
Yes. Most premium VPN services allow you to connect 5–10 devices simultaneously under one account — covering Windows, macOS, Android, iOS, and even routers.
5. How can I confirm that my VPN is actually working?
You can visit vpntest.pro or similar sites to check your IP address, DNS servers, and WebRTC leaks. If the IP shown matches your VPN server’s location — and no DNS leaks appear — your VPN is working correctly.
6. What should I do if my VPN slows down my internet connection?
Try switching to a server closer to your location, change protocols (for example, from OpenVPN to WireGuard), or restart your connection. VPNs encrypt your data, which can slightly reduce speed — but severe slowdowns often indicate overloaded servers.
7. Can I make my VPN start automatically when my device turns on?
Yes. Most VPN apps offer an Auto-Connect or Always-on VPN option. On Android and iOS, you can enable “Always-on VPN” in network settings; on Windows and macOS, you can set the app to launch at startup.
8. Is it safe to use free VPNs?
Generally, no. Many free VPNs collect and sell user data, show ads, or offer weak encryption. It’s always better to use a reputable paid VPN with transparent privacy policies and audited security.
9. Why does my VPN disconnect randomly?
This can happen due to unstable network conditions, server timeouts, or app settings. Try switching to another server, updating the VPN app, or enabling a Kill Switch to protect your data if disconnections occur.
10. Do VPNs make me completely anonymous online?
A VPN significantly increases your privacy but doesn’t make you fully anonymous. It hides your IP and encrypts traffic, but websites can still track you using cookies or browser fingerprints. Combine a VPN with privacy-focused browsers and good digital hygiene for stronger anonymity.
Tags

About VPNTest
Content Specialist with expertise in cybersecurity and online privacy. Sarah has been testing and reviewing VPN services for over 5 years and regularly contributes to leading tech publications.
View all articles by VPNTest →




Never Miss an Article
Subscribe to our newsletter to receive the latest VPN guides, security tips, and industry news directly in your inbox.