
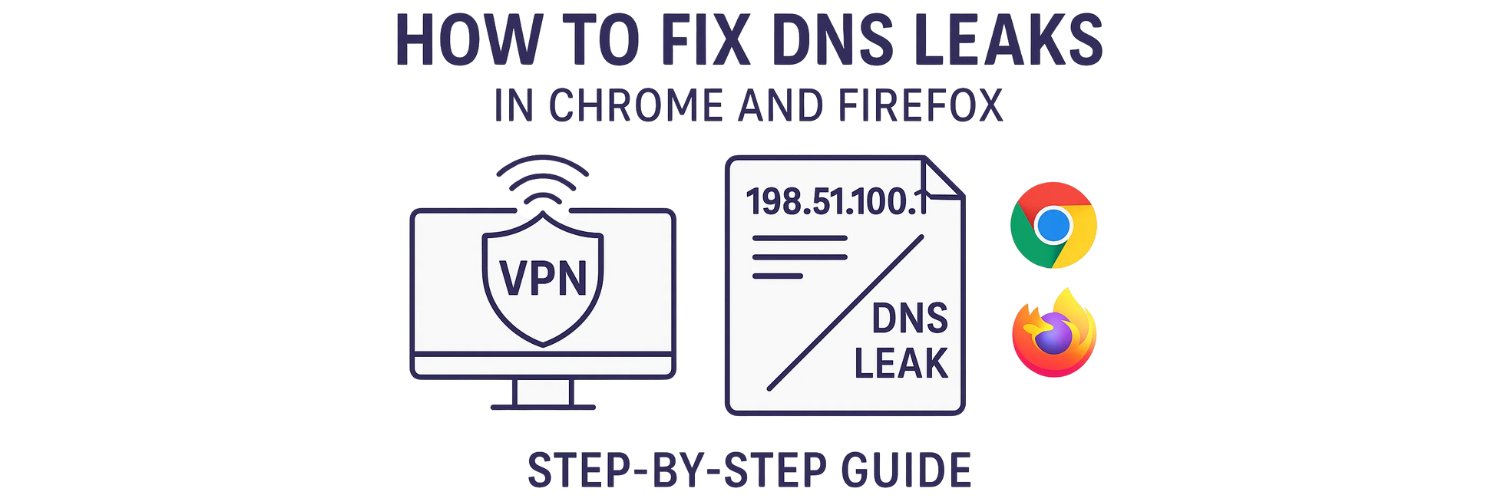
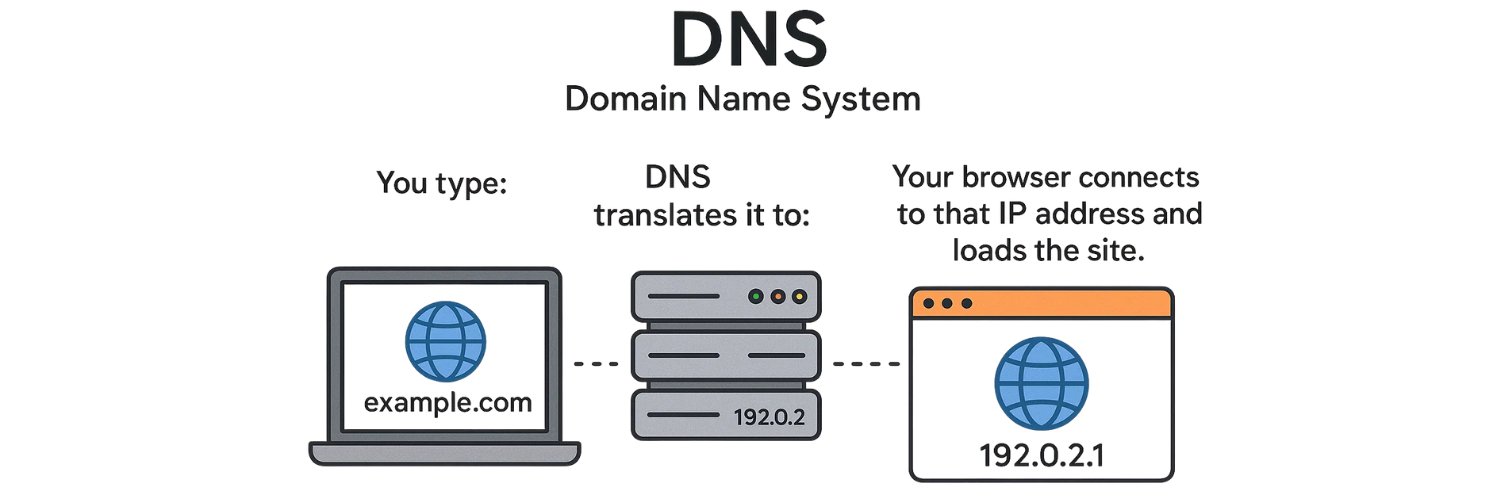
DNS (Domain Name System) translates website names into IP addresses so your browser can reach them.
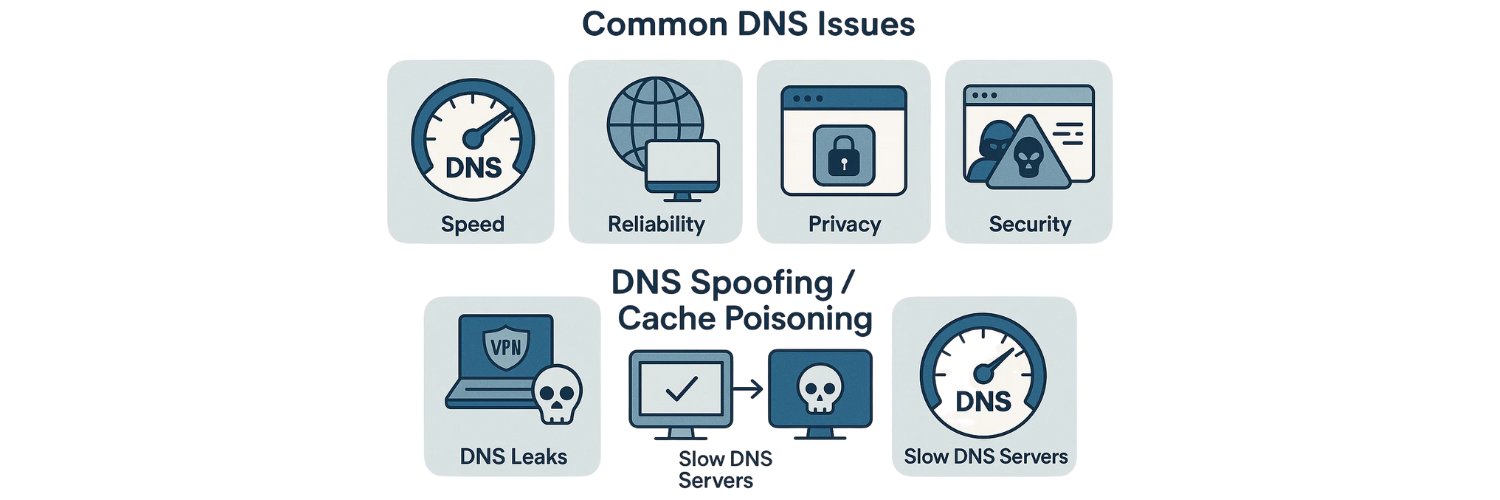
A DNS leak happens when those requests bypass your VPN or proxy and go through your internet provider instead. This exposes your real location and browsing activity, even when you think you’re protected.
Browsers like Chrome and Firefox are often behind these leaks, usually due to misconfigured DNS or proxy settings. A quick DNS leak fix can close that gap and restore your privacy — and that’s exactly what this guide will show you.
How To Check If You Have A DNS Leak
Before you fix a DNS leak, it’s important to confirm whether your browser or VPN is actually leaking DNS requests. You can run a quick DNS leak test using reliable online tools — it takes less than a minute.
The easiest way to do this is with VPNTest.pro. It’s a free online VPN tester that instantly checks if your VPN hides your IP address, routes DNS requests correctly, and blocks WebRTC leaks. No installation is needed — just open the site, click Test Your VPN Now, and review your results.
When the test is done, look for the DNS servers listed.
If you see your ISP’s name or location, your browser is leaking DNS.
If you’re using a VPN or proxy, the DNS servers should show your VPN provider or the server location you connected to, not your real one.
You can also double-check usingipleak.net ordnsleaktest.com, but VPNTest.pro gives a faster, all-in-one overview of your IP, DNS, and WebRTC leak status — perfect for making sure your connection is fully protected.
Why DNS Leaks Happen In Chrome And Firefox
Chrome and Firefox don’t handle DNS in the same way, which is why leaks often appear in one but not the other.
Chrome usually follows your system DNS settings — or your VPN DNS servers if your VPN redirects them correctly. Firefox, however, has its own internal DNS resolver with DNS-over-HTTPS (DoH) enabled by default. This means that even when you’re connected to a VPN, Firefox may still send DNS requests directly to its chosen provider (usually Cloudflare DNS) instead of your VPN’s DNS.
Here are the most common reasons for DNS leaks:
DoH misconfiguration: When enabled, Firefox or Chrome may override your VPN or proxy DNS routing.
Proxy or VPN setup errors: Especially when using SOCKS5 proxies, DNS lookups may go out through your local network instead of through the proxy tunnel.
Browser extensions: Some privacy or network add-ons can unintentionally change how DNS requests are resolved.
System proxy mode in Firefox: Selecting “Use system proxy settings” can force Firefox to bypass your VPN and use your default DNS servers.
Each of these situations changes how browser DNS settings interact with your VPN DNS configuration, creating the perfect setup for a leak. Understanding how each browser routes DNS requests helps you identify where the problem starts — and how to fix it for good
DNS Leak Fix For Chrome
If you’ve confirmed a DNS leak in Chrome, the issue usually comes from how the browser handles Secure DNS or your system proxy. Here’s how to apply a quick and reliable Chrome DNS leak fix.
Disable Or Change Secure DNS (DoH)
Go to Settings → Privacy and Security → Security → Use secure DNS.
You’ll see two options:Turn it off entirely.
Or choose a custom provider, preferably your VPN or proxy DNS.
Chrome’s Secure DNS (DoH) is designed to encrypt DNS queries, but when you’re connected to an external VPN, it can override your VPN’s private DNS servers — causing DNS requests to leak through your ISP. Disabling or reconfiguring it ensures Chrome sends all DNS traffic through the correct tunnel.
Check Proxy Settings
Chrome doesn’t manage proxies internally — it uses your system proxy settings.
If you’re using a VPN, you don’t need an additional OS-level proxy. If you are using one, switch to a manual proxy setup within your VPN or browser extension. This prevents Chrome from sending DNS requests through your system DNS instead of your secure tunnel.Clear DNS Cache
Sometimes Chrome stores old DNS entries that keep routing requests through the wrong servers.
To clear them:Open a new tab and type chrome://net-internals/#dns.
Click Clear host cache.
This resets how Chrome resolves websites, ensuring future DNS lookups follow your new settings.
Retest After Fixing
Once you’ve made the changes, retest using VPNtest.pro If you see your VPN or proxy DNS instead of your ISP, your Chrome DNS leak fix worked.
These quick steps align your browser with your VPN’s private DNS, improving both privacy and accuracy in how your connections are resolved
DNS Leak Fix For Firefox
A DNS leak in Firefox usually happens when its internal DNS settings override your VPN or proxy configuration. Firefox has built-in features like DNS over HTTPS (DoH) and system proxy options that can reroute DNS queries outside your secure tunnel. Follow these steps for a complete Firefox DNS leak fix.
Disable DNS Over HTTPS (DoH)
Go to Settings → General → Network Settings → Settings.
At the bottom, find Enable DNS over HTTPS and uncheck it.
Firefox uses Cloudflare DNS by default for DoH, which can bypass your VPN’s private DNS servers. Disabling it ensures your DNS requests follow your VPN’s routing, not Cloudflare’s.
Use Manual Proxy Configuration
In the same Network Settings window, select Manual Proxy Configuration instead of “Use system proxy settings.”
Then check the box “Proxy DNS when using SOCKS v5.”
This tells Firefox to send DNS lookups through your proxy or VPN connection instead of your device’s default DNS, preventing leaks that often appear when “system proxy” mode is active.
Advanced Fix (About:Config Method)
For more control, type about:config in the address bar and press Enter.
Click Accept the Risk and Continue, then search and set these two preferences:
network.proxy.socks_remote_dns → true
network.trr.mode → 3
The first forces all DNS queries through your proxy (especially important for SOCKS5 proxy users).
The second disables fallback DNS behavior, blocking Firefox from switching to public DNS servers when your VPN is active.
Retest The Browser
After applying these changes, visit vpntest.pro.
If the DNS servers listed belong to your VPN or proxy instead of your ISP, your Firefox DNS leak issue is fixed.
These steps provide full DNS leak protection in Firefox by keeping your DNS requests within your secure tunnel — no Cloudflare, no system proxy interference, and no data leaks.
Other Tips To Prevent DNS Leaks Permanently
Once you’ve fixed the problem, it’s worth taking a few simple steps to prevent DNS leaks from returning. These habits help you maintain consistent DNS leak protection no matter which browser or VPN you use.
Use a trusted VPN with built-in DNS leak protection.
A good VPN manages its own VPN DNS settings, routing all DNS requests through encrypted servers instead of your ISP’s.Avoid browser extensions that modify network routing.
Some add-ons, like Port Authority or advanced privacy blockers, can interfere with proxy DNS routing and cause leaks.Run regular DNS leak tests.
Check your setup after browser or VPN updates using tools like VPNTest.pro or ipleak.net to confirm your DNS requests stay private.Use encrypted DNS only when your VPN handles it.
Features like DNS over HTTPS (DoH) or DNS over TLS (DoT) are useful, but only if they operate within your VPN’s tunnel. Otherwise, they may bypass it.Keep your browser up to date.
New versions of Chrome and Firefox (Chrome 2025+, Firefox 130+) often improve browser privacy and patch network routing issues that can cause leaks.
Consistent testing and cautious setup will keep your connection secure, ensuring your online activity stays where it belongs — between you and your VPN.
FAQs
Q1. What Is A DNS Leak And How Does It Affect Privacy?
A DNS leak happens when your browser or device sends DNS requests through your internet provider instead of your VPN or proxy. This exposes your browsing activity, location, and visited websites to your ISP or anyone monitoring the network, even if your VPN connection appears active.
Q2. How Do I Check For DNS Leaks?
Use online testing tools such as VPNtest.pro
If the results show your ISP’s DNS servers, you have a leak.
If you see your VPN’s DNS or server location instead, your connection is properly protected.
Q3. How Do I Fix A DNS Leak In Chrome?
Go to Settings → Privacy and Security → Security, turn off Secure DNS, and clear your DNS cache by visiting chrome://net-internals/#dns.
Then retest your connection to confirm the Chrome DNS leak fix worked.
Q4. How Do I Fix A DNS Leak In Firefox?
Disable DNS over HTTPS (DoH) in Settings, enable SOCKS v5 DNS under Manual Proxy Configuration, and in about:config, set network.proxy.socks_remote_dns to true and network.trr.mode to 3.
These changes ensure DNS requests stay within your VPN tunnel.
Q5. Why Does Firefox Leak DNS But Chrome Doesn’t?
Firefox uses its own internal resolver with Cloudflare DNS by default, which can bypass your VPN’s DNS routing.
Chrome, on the other hand, typically follows system DNS settings unless Secure DNS (DoH) is enabled, which makes leaks less likely in most setups.
Q6. How Can I Prevent DNS Leaks Permanently?
Use a reliable VPN with DNS leak protection, test regularly, avoid using “System Proxy” mode in Firefox, and keep your browsers updated.
These steps keep your DNS traffic secure and consistent with your VPN configuration.
Q7. Is DNS Over HTTPS Good Or Bad For VPN Users?
It depends on how it’s configured. DoH encrypts your DNS traffic, improving privacy, but if it’s enabled inside the browser, it can bypass your VPN’s DNS servers. The best setup is to let your VPN handle encrypted DNS directly.
Final Thoughts
A DNS leak fix doesn’t take long once you understand what’s causing it. Both Chrome and Firefox give you full control over DNS routing — you just need to adjust the right settings.
After every change, always re-test using trusted tools like VPNTest.pro or ipleak.net to confirm your DNS leak protection is active.
For lasting privacy, use a VPN or proxy that manages its own DNS servers, and keep your browser updated. Modern versions of Chrome and Firefox continue to improve DNS handling, making it easier than ever to stay private and secure online.
Tags
About VPNTest
Content Specialist with expertise in cybersecurity and online privacy. Sarah has been testing and reviewing VPN services for over 5 years and regularly contributes to leading tech publications.
View all articles by VPNTest →


Never Miss an Article
Subscribe to our newsletter to receive the latest VPN guides, security tips, and industry news directly in your inbox.